All about Inks
Quick disclaimer! I do have some affiliate links for any Amazon purchase which means I will get a small percentage of the purchase if you buy through my link, with no extra cost to you. If you like what I do, please consider using my links to support me!
What makes ink good for calligraphy?
The thickness or consistency of ink is what determines how good it will be for calligraphy. Sumi ink is a great tried and true ink that is perfect for beginners. Most craft stores will carry this ink along with Amazon, John Neal Bookseller, and Paper & Ink Crafts. Its thickness is somewhere between 2% milk and heavy cream. Another option is walnut ink. This one is a great practice ink but tends to run on the thinner side. It’s still usable but I tend to mix mine up with a little gum arabic to help thicken the ink up to not run so quickly. A little gum arabic goes a long way so add it in slowly and be sure to fully mix! Always test on a sample sheet of paper to get the right consistency to your liking.
My Top 3 Trusted Ink Brands
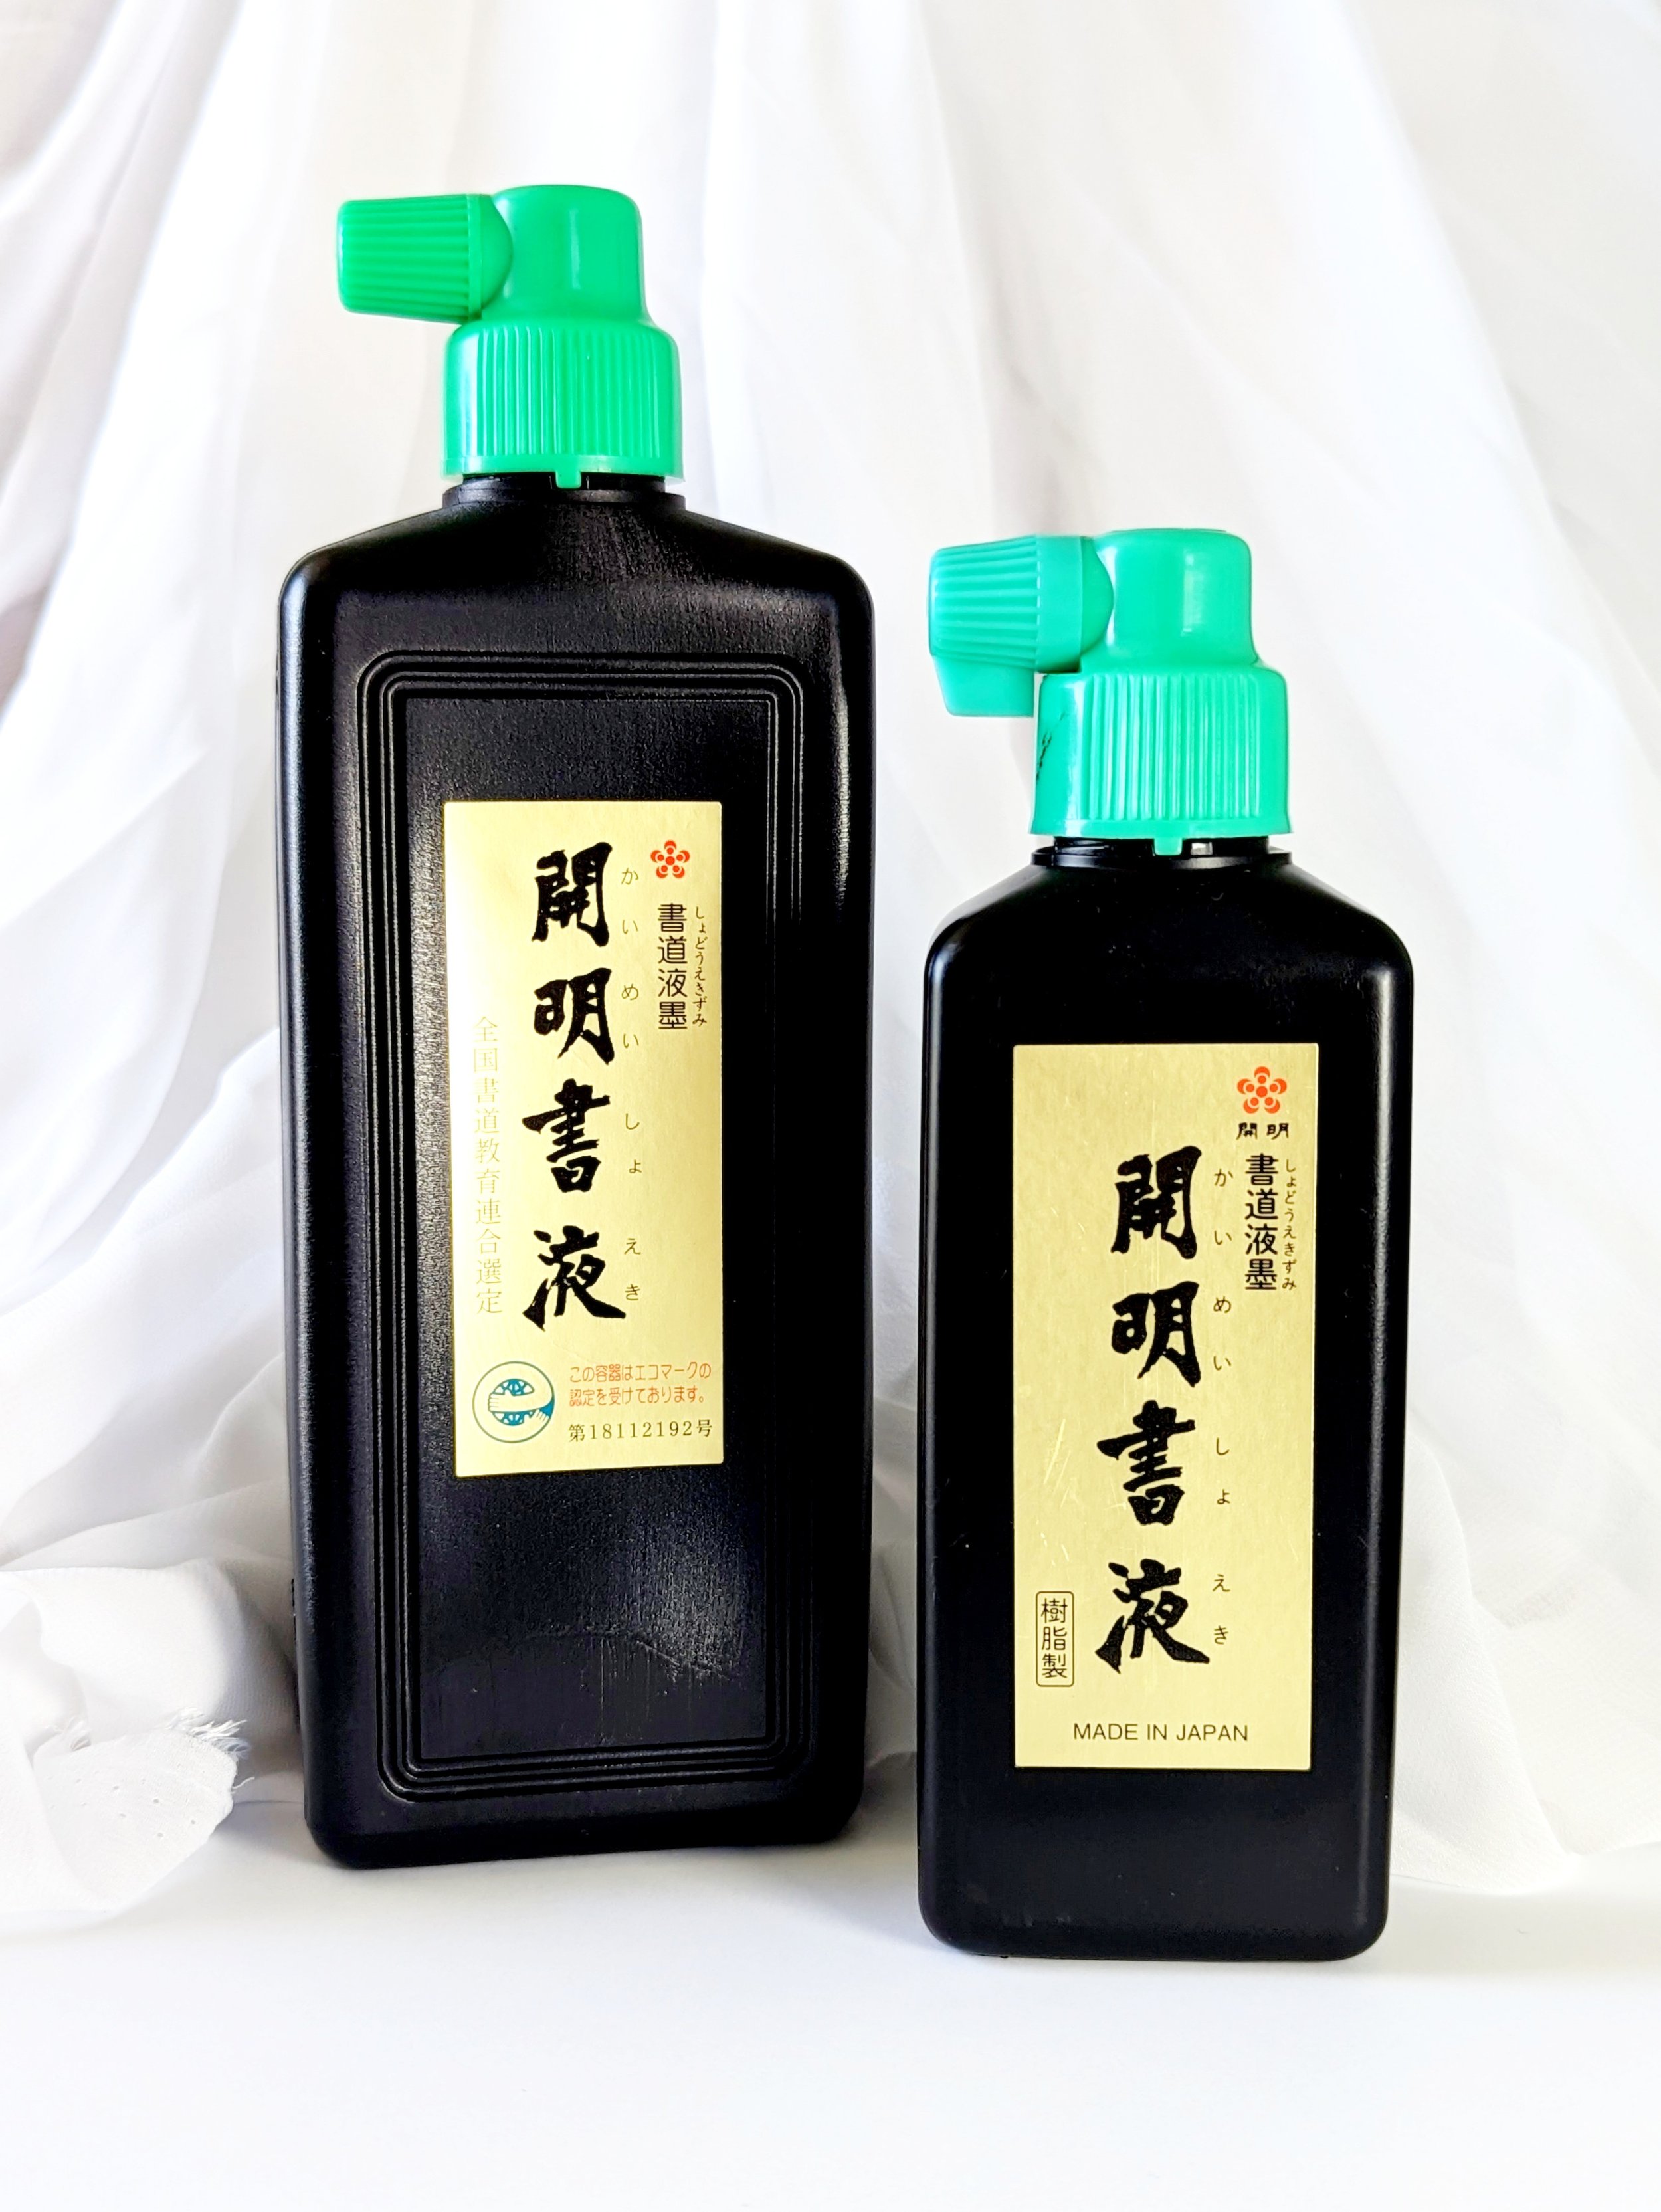
For a classic black, Moonpalace Sumi ink all the way! This is an ink you can buy in large quantities or individually for pretty cheap and depending on how much you use it, or how many spills you have (it happens), a single 16 oz bottle can last you for a year plus even with daily practice! You can get a bottle of Sumi ink here.

For a white, I trust Dr. Ph. Martin’s Bleed Proof White Ink. This comes in a small bottle and is extremely thick! You have to water this ink down, but in your trusty dinky dip ink pot, not directly in the Dr. Ph. Martin bottle! This will preserve the original ink longer and won’t overflow the original jar it comes in. I still have my first jar of this for over 2 years as I don’t use it as often. You can snag my favorite white ink here!
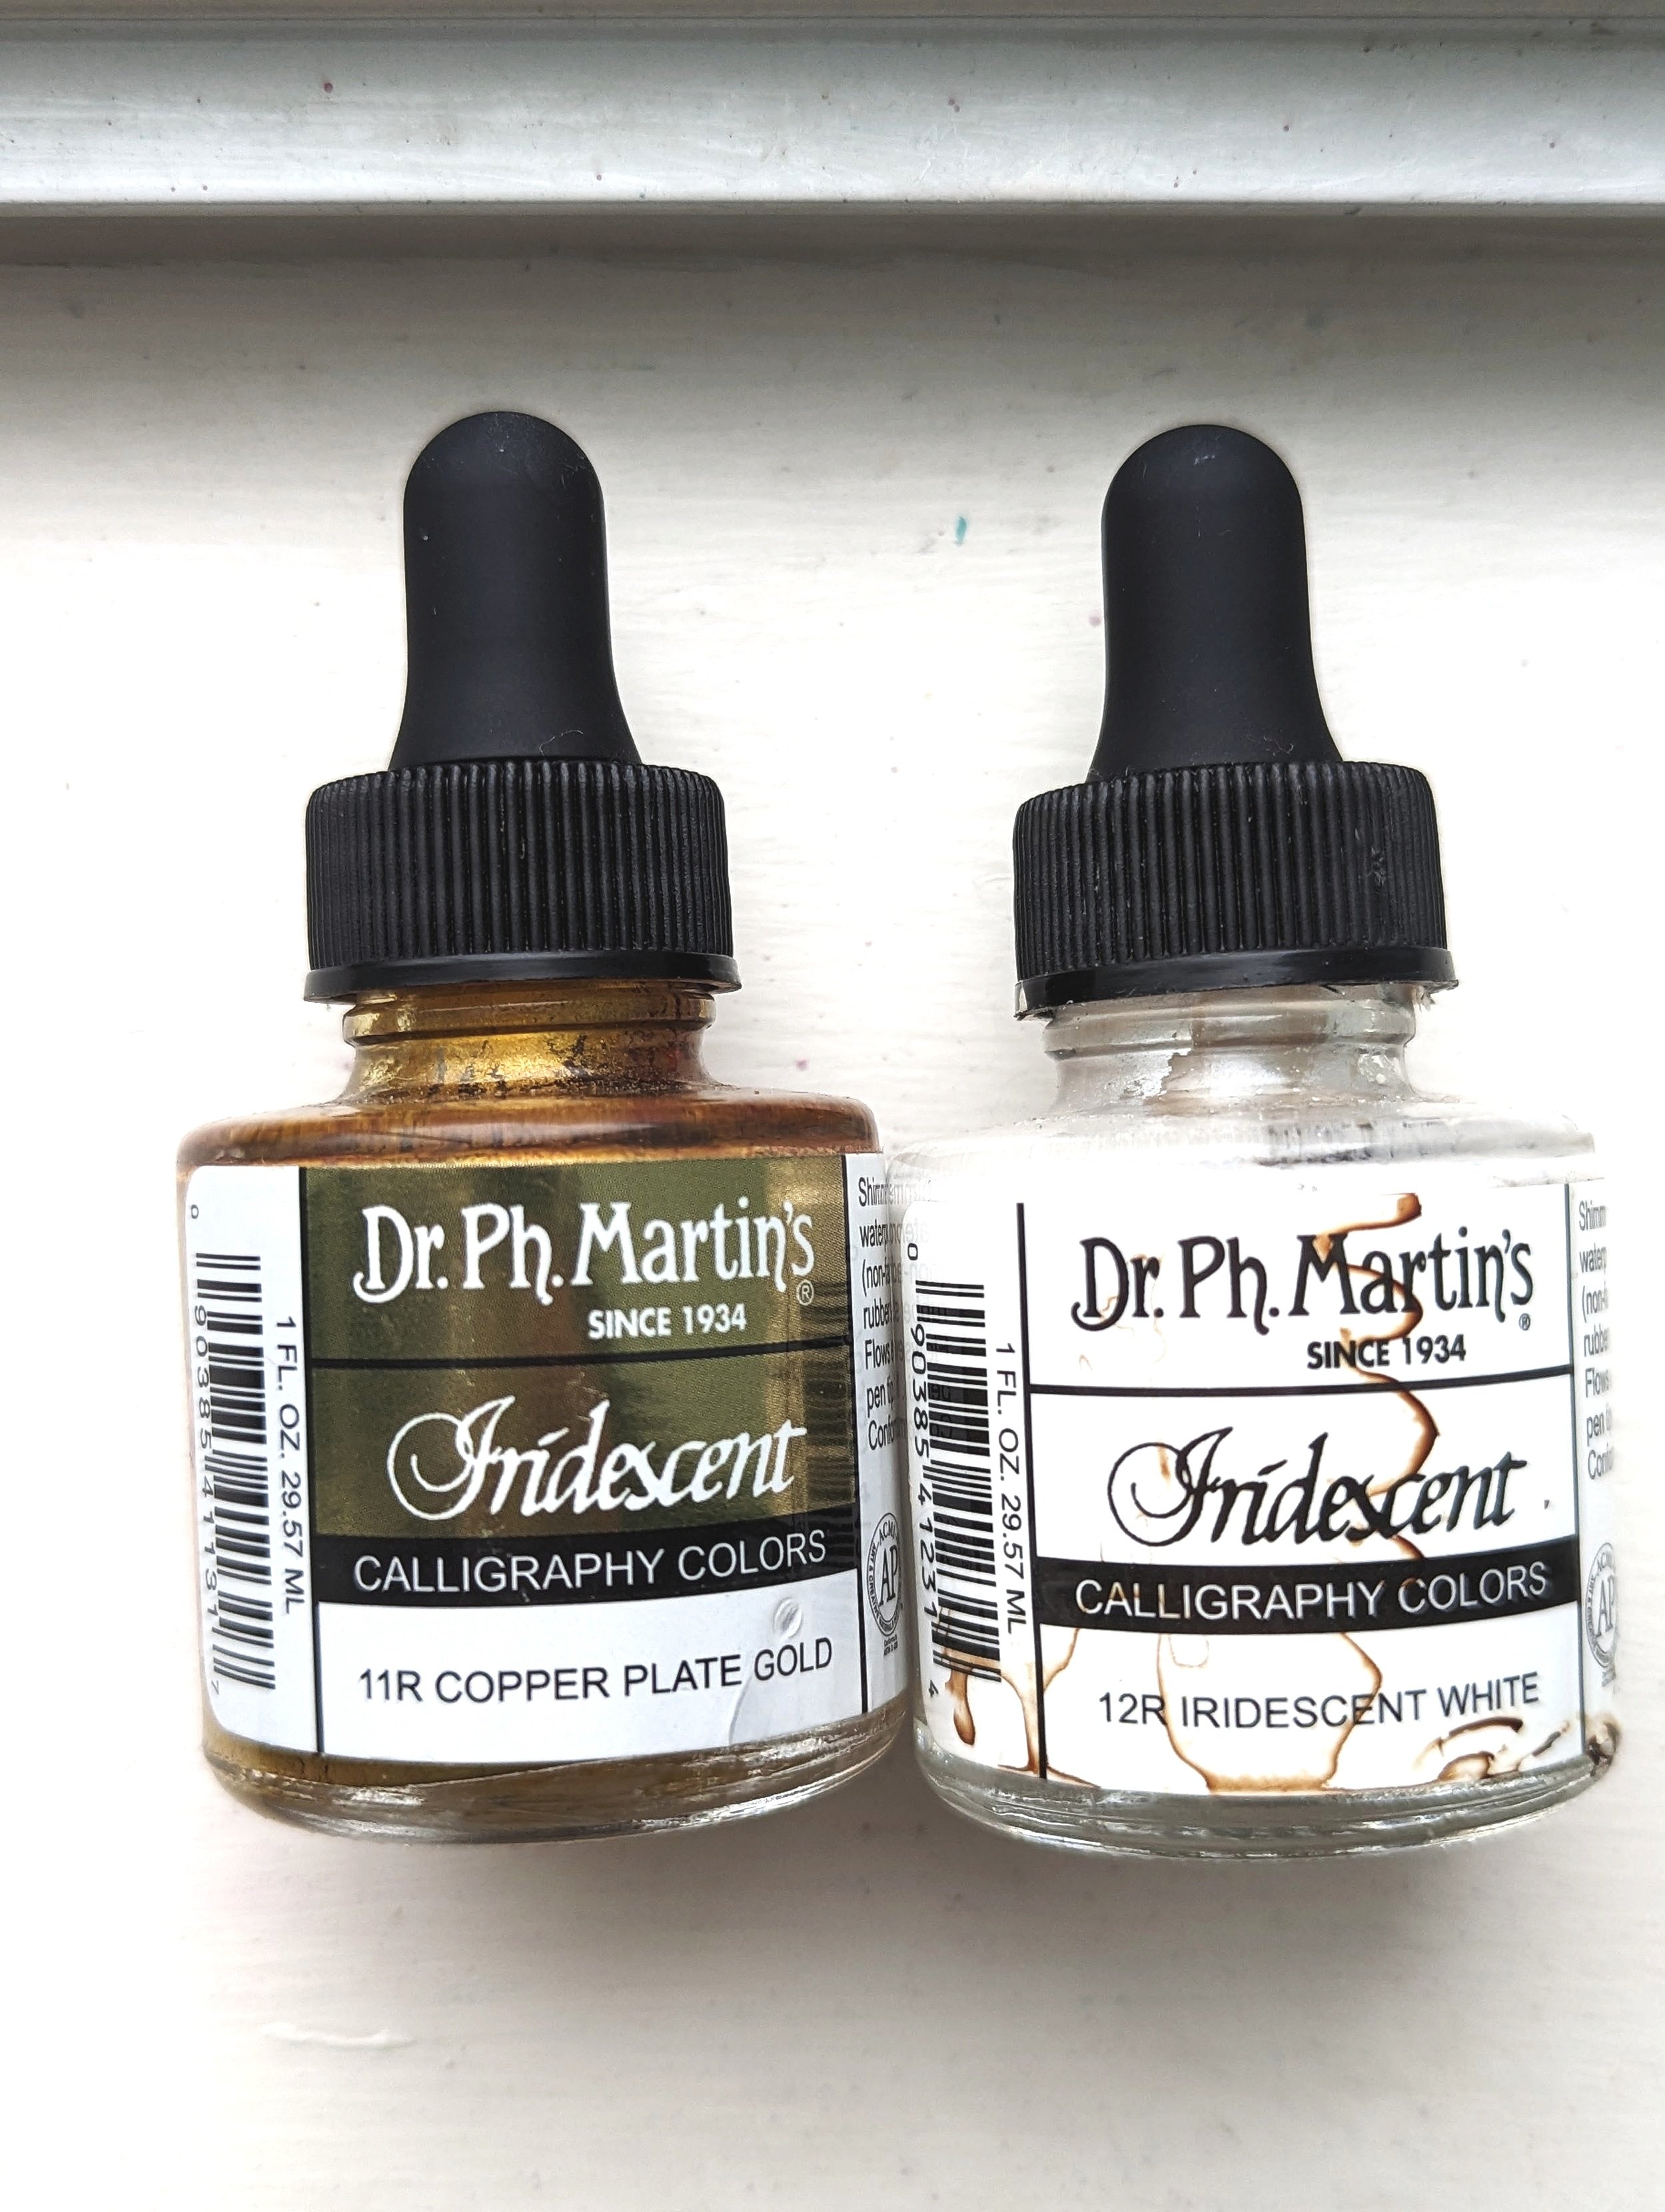
I also love Dr. Ph. Martin’s Copperplate gold & Pearl colors. These are metallic inks and are so shimmery! They provide just the right about of height on the paper once it’s dried, you don’t get with the Moonpalace Sumi or the Dr. Ph. Martin’s Bleed Proof White inks. It feels so good to finish a piece and run your fingers over the writing! So satisfying. The downside is these inks do separate liquid from metallic. When you let the ink sit for weeks on end, the metallic sediment will settle to the bottom of the jar and the liquid will remain as is. You’ll have to do some major shaking for a while but it will mix back together. If you have a fancy ink stirrer, just drop the small magnetic agitator in the ink and set the bottle on the base, and let that run for a while! It saves your arm a lot of soreness! Snag your bottle of iridescent copperplate gold here!
And last but not least, Coliro Pearl Colors. The dreamiest shimmers you ever saw! You’ll want to add a few drops of water to cover the full surface of the palette and let it sit for a minute before stirring up the shimmer with a paintbrush. You should get that similar consistency. If it’s too thick to apply to your nib, simply add a few more drops of water. However, if you’ve overdone the water you have a couple of options: let it air out a few hours to overnight or let the shimmer settle at the bottom and then gently dab away some water with a paper towel or if you have pipettes on hand for more precision, go for it! Fun fact: I bought a bag of 100 pipettes for my succulents but use only like 3 for plants and the rest goes to art! There are SO many palette options for these and through their site, they offer mix-and-match custom palettes. Check out a few of my favorite picks here!
I want a unique colored ink, do you have any tips for that?
Of course! You can custom-mix your own ink using gouache paint! This is great to mix up that perfect ink color you can’t find in a store. It takes practice learning the color mixing techniques so as not to muddy up your colors. As I mentioned above, you are looking for consistency between 2% milk and heavy cream. Test out your new ink with a trusted nib and thicker paper. If the ink is too thin, you will notice your ink slides right off your nib onto the paper whether you are ready or not. To fix this, add more gouache if you are still color correcting or gum arabic if you’ve got the right color. If you don’t have gum arabic on hand, allow the inkpot to air dry overnight uncapped. If the ink is too thick, no matter what pressure you apply, the ink just won’t flow. The quick fix is to just add water. Quick note, if you live in an area that has hard water with lots of minerals, swap tap water for deionized water or bottled water from the store as this will help with the quality and longevity of the ink.
Pearl Ex powders are another way to custom mix your own shimmer ink. These powders are available at craft stores such as Michaels, but I’ve purchased my set through Walmart online! You want to add some Pearl Ex powder and a bit of gum arabic to your bottle then slowly add in water. These are a little more tricky to get both the consistency and shimmer to stick to the paper. Gum arabic is a thickener for standard ink but acts as a bonding agent for powders that allow the shimmer to stay on your paper rather than flake off once it has dried. Try out a 2:1:2 ratio of PearlEx powder to gum arabic to water and then add more gum arabic if necessary. Do a consistency test and once it’s dried an adherence test. You’ll need both to make this ink work, but once you’ve got the right formula, you’ll be golden! You can also add Pearl Ex powders to your gouache ink to give a subtle amount of shine rather than a full-on metallic ink, just don’t forget the gum arabic!
I’ve got all my personal picks and recommendations for all the inks mentioned above, plus a few more I didn’t delve into, here!